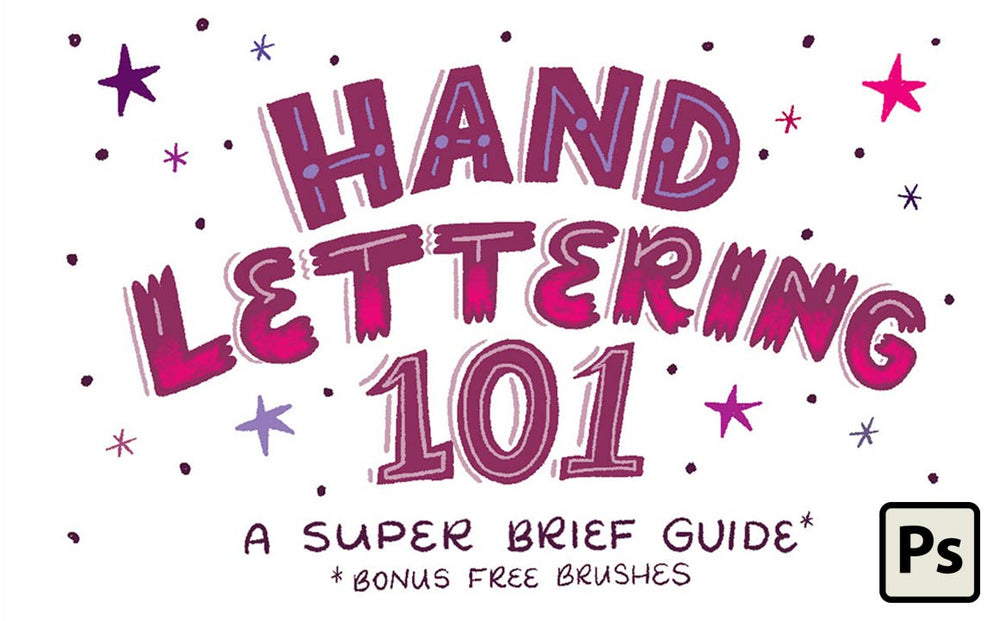
We've included a pack of 6 FREE hand lettering brushes to follow along with the tutorial. Click here to download them now.
Want to level up your game with a pack of 67 brushes, PSD files, cheat sheets, and videos? Grab The Hand Lettering Toolkit here!
Shauna Lynn Panczyszyn and Retro Supply Co. have teamed up to make available to you Shauna’s personal collection of brushes that she created to give her hand lettering pieces her signature, textured style.
Shauna is a hand lettering artist and illustrator who has created pieces for a variety of companies including Publix, International Delight, Fortune Magazine, and Harper Collins. Shauna is known for her whimsical style and her obsession for lettering has inspired her to create projects in which the letters take the spotlight!
You too can make your hand lettering look like it was done the old school way—by hand with pencils, pens, and inkers! Grab the Free Handlettering Toolkit and follow along with Shauna on her super brief guide to hand lettering.
Click here to download the free Hand Lettering 101 brush pack.
Want to level up your hand lettering game? Grab The Hand Lettering Toolbox. It's packed with 67 pens, pencils, inkers, erasers, and much more! Available only from RetroSupply Wednesday, June 8th, 2016 at 7am PST.
Watch the Video Tutorial
Do you prefer to read through your tutorials? Here's a text version with pictures of each step.
Step 1: Create a simple sketch

With your red lettering pencil from your free toolkit, sketch a simple version of your letter by using simple shapes. Don't worry if it's not perfect - you'll have plenty of time to tweak it later.
Step 2: Define the rough details

Start adding the rough details to your letter using your blue sketcher. In this step, you might consider playing with the terminals of your letter and adding serifs. You may also want to tweak your crossbar.
Step 3: Define the letter

After adding the rough details, you can see what is working for your letter form and what's not. You will choose the best parts of your design and define them with your 2B pencil.
Step 4: Outline with inker

In a new layer, trace over your 2B pencil drawing with your inker. Creating the step in a new layer will allow you to drop the sketch layer once you finish your tracing and can move onto further inking. This will be the backbone of your final design.
Step 5: Decorate your letter

This step is all about dressing up your letter. With your inker, consider adding lines to the outside of your letter to give it dimension. You might also color part of your letter and add short strokes or dots. There is no wrong answer - have fun with it!
MORE ABOUT SHAUNA
You can follow Shauna, @shaunaparmesan, on Instagram and Twitter. Check out her work here and be sure to check out her ongoing side projects as well:

