Risograph Print Pack for Clip Studio Paint

Risograph Print Pack for Clip Studio Paint

Are you looking for a way to add some unique texture and personality to your designs?

Look no further than the Risograph Print Pack for Clip Studio Paint.

In this blog post, we'll take a closer look at how to use the Risograph Clip Studio Paint Template to create stunning Risograph effects in just a few simple steps.

Whether you're a seasoned designer or just getting started, the Risograph Print Pack will help you achieve a look that is both professional and eye-catching. So, let's dive in and explore the world of Risograph printing in Photoshop!

Risograph Clip Studio Paint Template

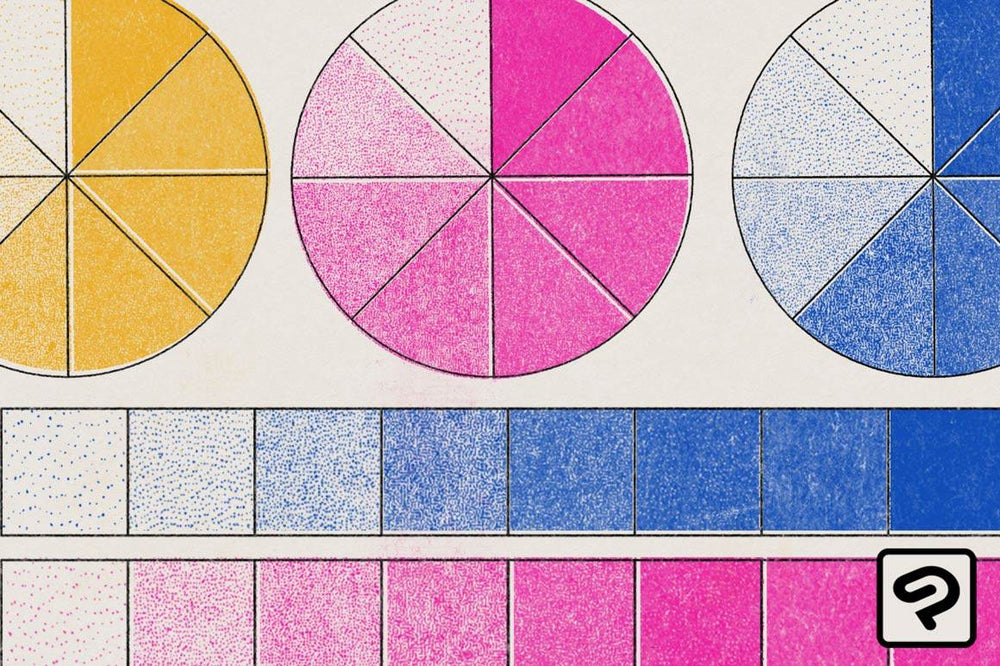
With the Risograph Print Pack Template, you can you can create beautiful recreations of traditional Risograph printing in seconds.

Transform your illustrations quickly with our easy to use Clip Studio Paint template. Choose from a range of customizable textures to create your ideal digital artwork. Mock-up your designs to go to the Risograph printer for no suprises or headaches.

Follow along as we demonstrate how to bring iconic Risograph textures to your digital artwork.

Can't Watch the Video? Here's What You missed:

    1. Separate your artwork by color.
    2. Copy your first color layer. Open the template. Expand the folder titled Add Artwork + Apply Texture. Paste into the Color One folder. Set your layer to Multiply.
    3. Paste all your colors into the respective folders in the template by repeating Step 2 with each color.
    4. To change the scale of the texture, press Control or Command + T. In the Tool Property panel, type in a new Scale Ratio. Click OK.
    5. Expand the folder titled RSCO Risograph Texture Bank. To activate them, drag these layers above your color layers and turn off the visibility of the other texture.
    6. If you need to use the same texture on separate layers, simply duplicate the layer and drag it into the other color folder. When using the same texture on two different color layers, you will want to offset the texture with the Move Tool for the most authentic look.
    7. Expand the folder titled Paper Texture + Color. Double-click the layer titled <<Double Click to Choose Paper Color. Choose your color from the color picker.
    8. The paper texture layer and the Riso texture layers can be rescaled and moved around. Select the Risograph texture and press Control or Command + T. Use the Move Tool to rescale and move the paper.

A Print Shop in Your Computer

Create the authentic look of Risograph prints quickly and easily with our extensive range of Risograph actions, templates, and more.

How to Use Full Page Textures

  1. Open your artwork. Go to File>Import>Image. Select a full page texture.
  2. Scale the texture to your desired size.
  3. Set the blending mode to Screen. Go to Layer>Layer Settings>Clip to Layer Below.
  4. Set the blending mode of the color layer to Multiply.
  5. Repeat Steps 1 through 4 to apply the full page textures to as many color and layers as you wish.

How to Use the Seamless Textures

  1. Open your artwork. Go to File>Import>Pattern from Image. Select a seamless texture.
  2. Scale the texture to your desired size.
  3. Set the blending mode to Screen. Go to Layer>Layer Settings>Clip to Layer Below.
  4. Press Control or Command + T. Change the Scale Ratio in the Tool Property Panel. Use the Move Tool to move the texture around.

How to Use the Paper Texture

  1. Open your artwork. Go to File>Import>Pattern from Image. Select the paper texture jpg.
  2. Set the blending mode to Multiply.
  3. Press Control or Command + T. Change the Scale Ratio in the Tool Property Panel or the Move Tool.

Other Tutorials We Think You'll Enjoy

Five Ways to Create More Interesting Illustrations with Patterns in Clip Studio Paint.

Adding patterns to your retro-style illustrations is an effective and easy way to make your work more visually interesting. Following along with the RetroSupply Co. crew as we outline 5 ways to use pattern textures for more eye-catching and impressive illustrations.

View the tutorial.

HOW TO GET REGISTRATION ERROR

A natural quirk of traditional printmaking is registration error. When one layer of color is off-register compared to the other layers. Modern printers and digital art lack this quirk unless you do it on purpose. That's where we come in. In these easy-to-follow, step-by-step instructions, we'll show you how to create registration errors in your digital artwork.

View the tutorial.

HOW TO CREATE PRINT DISTRESS

Weatherization, age, and handling can affect the look of traditional prints. This causes a natural distressing that is missing in digital artwork. In this easy, step-by-step set of instructions we'll show you how to achieve this touch of authenticity to your work.

View the tutorial.